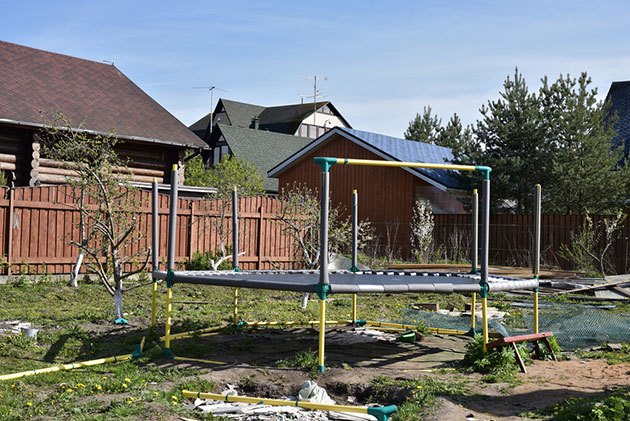
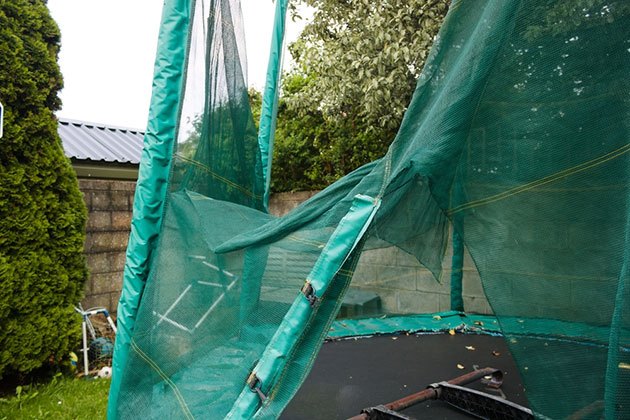
Imagine a scenario - you’re watching the news, and you hear that a windy storm is coming your way.
You’re doing your best to prepare and secure your home, and then you remember that the trampoline is outside in the backyard, waiting as a first responder.
Naturally, you want to secure it and anchor it down.
However, very strong winds could potentially rip the anchors out from the ground, and your work becomes futile.
So, what do you do?
Worry not because we’re here to offer you some insight into how to disassemble a trampoline in a few easy steps.
If you follow it through and do everything right, you’ll be just in time to beat the storm.
Of course, this is extreme, and you’re maybe just going away for a vacation and want to put it away.
Anyways, knowing how to do it yourself will be a handy skill that we will teach you down below.
More...
A Quick Introduction
Before we lead you into the process of disassembling a trampoline, we first have to answer the question: When should you take apart your trampoline?
The most common scenario involves harsh winds that can damage your property, including the trampoline.
However, what classifies under harsh winds?
Well, there is really no need to disassemble your trampoline if the wind doesn’t have the potency to lift it up.
In this case, you can anchor the trampoline to the ground or use sandbags to keep it in place.
Generally, it’s believed that winds up to 35 mph won’t be strong enough to lift up the trampoline and knock it down.
There are other factors that could help with keeping the trampoline in place, such as natural barriers that are trees, sheds, and your house.
On the other hand, you should definitely try to disassemble your trampoline if the winds exceed the speed of 40-45 mph since there have been cases of such winds lifting the trampolines.
Read more —
The Disassembling Guide
1. Preparation
Before doing anything, you should first get the right tools that are a necessity in this process and clean the trampoline.
If the storm is coming, then you can skip the cleaning part, but you should at least try to hose it down and dry it afterward once you’ve stored it since the metallic structure can get moldy or rusty.
As for the tools, you’ll need a couple of things.
Since you’ll be unscrewing bolts and using an electric drill, you’ll need hand gloves as a matter of precaution.
Then, you’ll want to get a 10 mm wrench and a screwdriver alongside the electric drill since they’ll all help you to disassemble the trampoline in the fastest way possible.
Finally, you’ll need a puller for the springs, and that’s about it.
2. Removing The Accessories
You’ll first have to remove some of the larger accessories before you move on to the trampoline structure and the springs.
The most common accessories include the safety enclosure net, poles, and ladder if you have one.
However, you should also remove a basketball hoop if you have one or similar things, such as toys, balls, or a tent.
Usually, all of these accessories won’t require a tool to be taken off, except maybe a screwdriver for the ladder.
Also, if your enclosure net is tied down at the bottom of the trampoline, you’ll have to untie it first.
Aside from this, the rest will be a couple of minutes of hassle.
3. The Safety Pad
Every trampoline has a safety pad or a spring cover, which is the next thing you should remove.
You should also consider removing the pad even when it’s raining since the moisture can damage the foam padding and make you regret you didn’t read through this entire article.
The safety pad is usually tied down to the trampoline, so you’ll first untie it and then store it in a dry location for further assembly.
It’s important not to skip this step since the safety pad is one of the core elements of the trampoline and the quality pads are not that cheap to replace.
4. Removing The Springs

Now it’s time to remove the springs and move on to the frame, which is the trickiest part.
As for the springs, you won’t bother that much, but it’ll take longer than the previous steps.
For this step, you’ll need either a spring puller or pliers, but we recommend using the puller if you have one.
It usually comes with the package, so check out the box and see if there is one.
Trampoline springs are connected to V-rings on the trampoline from the closed ends, facing the mat.
The one facing the frame is called the open side, which is the side you’ll use to remove each spring.
You’ll use the tool to pull each spring and repeat the process until you dismantle all of them.
However, if you’ve never done this, make sure to do it slowly and carefully since there is a possibility that some of the springs are rusty if you have had a trampoline for a long time.
If you pull too hard on a rusty spring, it’ll break, and the puller will kick you back.
Also, use hand gloves for this part, just in case.
5. Taking Apart The Frame
This is the final step, and it’ll take you the longest amount of time.
Don’t worry because you’re all done after this.
Also, now that you’ve taken the springs out, you can remove the mat, fold it, and store it in a dry place for when the storm passes.
Dismantling the frame will require the tools we mentioned in the introduction, either a screwdriver or an electric drill.
They’re both good, but you’ll finish it faster with an electric drill.
The concept is simple - take off the screws and put them in a box.
However, after you’re done unscrewing the bolts, you’ll have to take off the legs that are connected to the frame.
They are usually two-part accessories, so you’ll have to use some physics to take them off.
Put your leg on the middle of the trampoline’s leg and create a lever so you can detach the leg by jerking it upwards.
It can be tricky, especially if it’s rusty and won’t budge.
Therefore, don’t put a lot of strength into it, yet try it a couple of times until it starts sliding off.
Lastly, you’ll have to detach the outer ring by twisting it, and you’ll be good to go.
When it’s all said and done, you’ll store the accessories and the screws to your basement or the garage, and you’ll be done.
Additional Information
Now that we’ve covered the basics, you should know some of the tips that could help you expedite the entire process.
By the way, dismantling a trampoline will usually take you about two to three hours, on average.
If some of your parts are rusty, it might take a bit longer than that, but it shouldn’t exceed four hours.
Speaking of rust, a common issue you might face is that some of the parts won’t budge due to rusty joints.
This is common with trampoline legs and the frame.
If this happens to you, we recommend using penetrating oil and leaving it for a couple of minutes until it sinks in.
You can also try the standard herbal or olive oil, and it should do the trick.
Another vital piece of advice is to have someone help you take down the frame and the springs.
When it comes to springs, you can give the other person a screwdriver or pliers, and it should do the job. You’ll work twice as fast and move on to removing the frame.
Also, don’t try to move the trampoline before disassembling it, even if it’s a small one.
This could work for rebounder or mini trampolines, but you should undoubtedly disassemble it before trying anything else.
If, however, the storm is near and you don’t have the time to do everything, we recommend removing the accessories and the safety pad and anchoring the frame.
Final Thoughts
Now you should be more than equipped to dismantle a trampoline in your time of need.
It’s not a hard task, and everyone can do it if they put in a little time.
We did focus on some extreme situations, but it’s highly realistic.
You'll simply want to go on a vacation, and you’ll want to store the trampoline until you come back.
Either way, following these dismantling steps, will get you to finish the chore in no time.
Give it a thorough read and be prepared.
My name is Larry Dunn from Dallas Texas and I have a deep passion and love for the trampoline.
With many years of experience in the field of healthcare service, I have decided to start his own website which is about a trampoline.
With this website, I will share his experiences and expertise advices on different factors to consider when deciding whether or not a trampoline is safe for you and your family.


