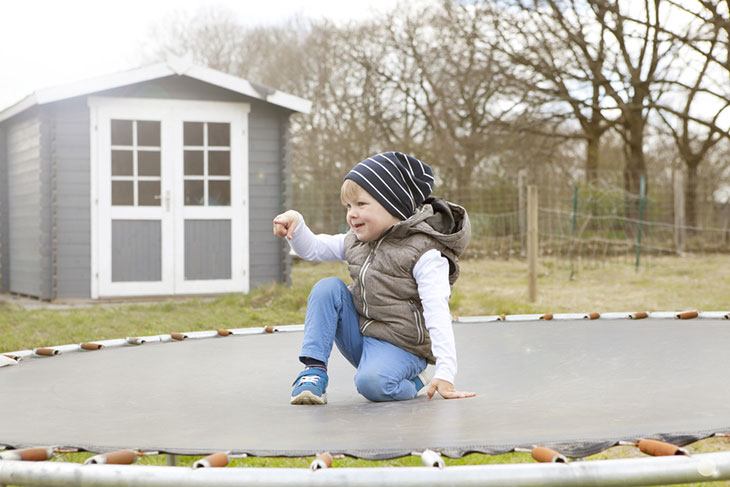
You’ve finally decided to answer the prayers of your children and purchased a trampoline.
The day of delivery has come, and you don’t have a minute of peace from all the screaming and the excitement.
You open up the package, take out the manuals, and have a mini-stroke.
Why?
Well, manuals are there to help you, but they can often be misleading or even confusing at times.
Furthermore, they’re packed with a lot of unnecessary information that you normally wouldn’t even bother reading through.
Now, we’re here to make it a lot easier and faster for you to finish the job and get that trampoline up and running.
Here’s our guide on how to put a trampoline together.
We’ll include a lot of useful information and some tips to finish faster.
Stay tuned!
More...
Preparation And Tools
Before doing anything, you’ll need a couple of minutes to organize and get everything you need in one place.
Also, there are some tools that are necessary for the assembly, but they usually all come with the packaging.
Still, it depends on the model and the manufacturer, so it wouldn’t be a bad idea to have some of the tools lying around.
When it comes to tools, you’ll need a couple of things that you probably have lying around somewhere.
You’ll require safety rubber gloves for setting the springs, a Phillips head screwdriver, or an electric drill, depending on what you prefer, a spring puller, and a rubber mallet.
You’ll finish way faster if you use an electric drill, but not all of us have one lying around, so you also use a screwdriver and get away with it.
It will last a bit longer, however.
When it comes to trampoline parts, there are literally a lot of them, so you’ll have to check if there’s everything you need, as listed in the packaging.
If something’s missing, the distributor probably forgot to include it, so you’ll have to contact them so they can mail you the missing part.
Now, it’s time to assemble the trampoline.
How to Put Together a Trampoline - A Straightforward Guide
There are multiple steps to assembling a trampoline, but they can eventually be divided into three categories, so we’ll follow that pattern in the guide.
1. Assembling the Frame
The first and most important thing is assembling and securing the frame.
As you may know, the frame is what keeps the trampoline together, and it’s crucial that you do this step with the utmost precision so you’ll never have to worry about stability in the future.
The first part is easy.
If you purchased a round trampoline, you’ll lay out the pieces of the frame on the ground and connect them by snapping them together.
It doesn’t require a lot of muscle strength; just make sure they won’t budget once you connect them all into a circle.
Then, you’ll have to attach the legs.
It all depends on the form and the design of the trampoline you’ve purchased, but you’ll usually encounter three types of trampoline legs - W-shaped, U-shaped, and standard pole legs.
However, the process of assembling them is usually always the same.
First, you’ll flip over the assembled frame and see joints that fit the legs you’ve received in the package.
You can manually attach the legs by pushing them in, but again, it depends on the model.
If they don’t go in, you can use the rubber mallet to hammer them in, but you should do it lightly to avoid any damages.
When you’ve placed all the legs, it’s time to secure them by screwing in the bolts at the designated places.
You’ll do it very fast with the electric drill, but as we said, using a Phillips screwdriver will do the trick.
Afterward, check if they’re all secured, and you can flip over the frame and move on to the next phase.
2. Assembling the Mat
Assembling the mat implies two things, setting up the springs and covering them with the protective pad.
This is the most tiring part of assembling a trampoline since it will require a bit of time, so it’s best to have a partner to help you out.
The number of springs usually depends on the size and the diameter of your trampoline.
For example, 12-foot round trampolines usually have 60-72 springs in their arsenal, which is why having a partner for this part is crucial.
If you own a larger trampoline, the number of springs will be larger, and it can usually be divided by 12, but that’s not always the case.
Either way, get ready for some work.
Before you start working with anything, make sure you have rubber gloves for you and your partner since spring hooks have sharp ends, and if they stretch, there’s a chance they might bounce back and hit you.
Also, you’ll need a spring puller or a wrench to set them up.
Trampoline springs have two hooks, where one end goes onto the frame and the second one directly onto the mat.
The one that goes onto the mat is a bit wider on end, so make sure to turn it that way.
Once you connect the wider end, you’ll use the spring puller to pull on it until it can reach the other side.
Then, pound the spring into place with the rubber mallet and attach it. That’s about it.
Once you’ve connected all the springs, it’s time to place the protective pad over them by simply aligning it to the edges and securing it with hooks or ropes in some cases.
That’s about it when it comes to assembling the mat.
3. Assembling the Enclosure Net
The last important segment is putting the enclosure net that protects the users from falling off the trampoline.
Before you set up the poles, it’s important to attach the bungee loops to the net.
Each of the loops has a hook that will eventually be used to connect the net to the poles.
Once you’ve connected each loop, it’s time to move on to the poles.
Securing the poles depends on the trampoline, meaning that each trampoline has a different method to set them up, their design, and the number of them.
Generally, there are designated holes on the frame for the poles that you’ll use to connect them in the same way that you attached the legs to the frame.
Sometimes, the poles will come in a couple of pieces that you can manually connect and secure with bolts.
Once you place them on the frame, you should use the electric drill to secure them, and afterward, make sure that they’re not budging.
The rest is quite simple.
You’ll use the hooks on the loops to connect the net to the poles.
When you’re finished, simply lift the poles and put them in the O-rings, and straighten the net.
4. Final Touches
There are other additions you might want to install before finishing everything up.
However, before you do it, you should test out the trampoline to see if you did everything correctly since you might need to change something or tighten some screws.
Jump a couple of times by increasing the intensity a bit with each jump.
If everything seems correct and it’s stable, you’ve done the hard part.
Some other accessories can also be installed onto the trampoline.
For example, kids love basketball hoops on trampolines since they allow them to perform some nasty dunks.
Also, installing a ladder with a deposit bag is always a good idea since you can put your shoes and clothes inside, along with some smaller objects, such as phones, wallets, and keys.
It’s not a bad idea to anchor the trampoline down by using either wind stakes or some quality anchor kits.
We highly recommend you try out the Skywalker kits since they’re extremely demanded and have a very high quality.
Now that you’ve done everything, there is one final step.
You’ll need your family members and a couple of hours of your time.
Grab them, climb aboard, and have fun.
Read more —
Final Thoughts - Summary
If you’ve read the entire article, you’ve probably noticed that this isn’t very hard.
Anyone can do it, and there’s really no way you can mess something up.
If, however, something doesn’t work the way it should, reverse the process and see what you’ve done wrong.
Overall, the entire assembly process should last more than a couple of hours.
Go through these steps carefully and make sure you’ve done everything right.
When you’re done, you’ll be glad that you took the time to assemble it yourself since you’ve learned a new skill and you know what to do if something breaks and requires some maintenance.
My name is Larry Dunn from Dallas Texas and I have a deep passion and love for the trampoline.
With many years of experience in the field of healthcare service, I have decided to start his own website which is about a trampoline.
With this website, I will share his experiences and expertise advices on different factors to consider when deciding whether or not a trampoline is safe for you and your family.


