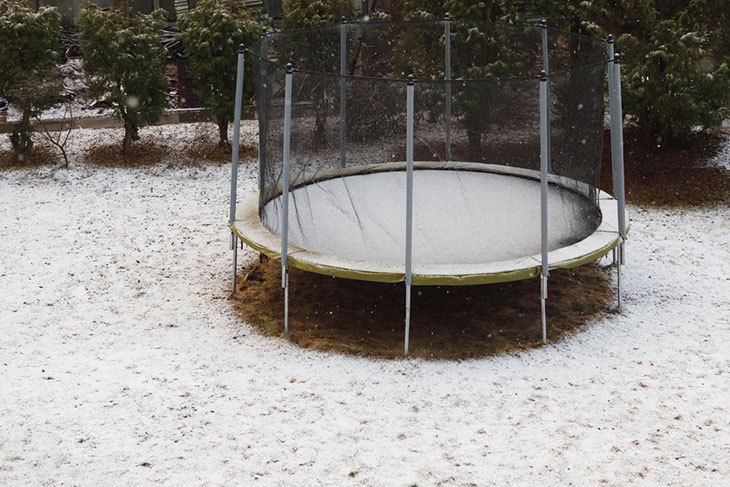
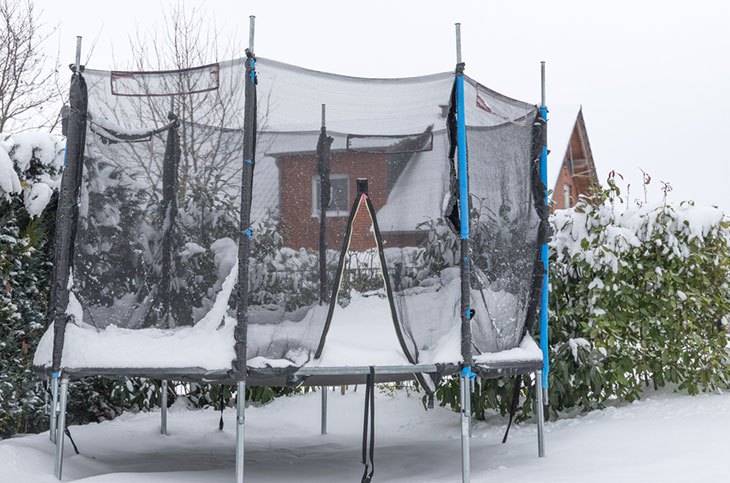
Wintertime can be quite depressing for everyone. It’s too cold to go out, and you’re practically bound to your house and indoor activities.
The warm days are gone, and your trampoline is outside, waiting to be used again when it’s warm.
So, what can you do to ensure it’ll last until next summer?
There are a couple of things you can do to ensure the longevity of your trampoline, and it all depends on you.
It doesn’t matter if it’s a mild or harsh winter - what you do will impact the health of your trampoline.
We’ll talk about some of the methods of securing your trampoline in this how to winterize a trampoline guide.
Stay tuned and, hopefully, you’ll learn a skill or two.
More...
What Is Winterization?
Before we go on to the methods of securing your trampoline, let’s talk a bit about winterization and how winter affects the trampoline.
Firstly, what is winterization?
Well, as the name alludes, it is a process of securing and protecting your property, backyard, and any objects during winter days.
The temperatures can be freezing cold, depending on your location, which is when many metallic objects suffer.
It’s easy to secure a car, for example.
You just drive it into your garage or find a public garage where you can leave your car overnight. If you have a backyard pool, you’ll empty the water and place a cover on the pool.
However, some things require more attention, such as a trampoline.
The biggest problem is that the entire structure of a trampoline is made from steel or some other metallic alloy, which is highly corrosive.
There are premium products made from galvanized steel that have a decreased risk of corrosion, but there’s still a possibility.
So, what do you do?
Winterizing a Trampoline - How-to Guide
Step 1: Removing the Essentials

Before doing anything, you should absolutely disassemble the entire trampoline and store it inside the house if possible.
Of course, it’s not a straightforward process, and not everyone knows how to do it, but it’s easy to learn, and you don’t really need any practice.
It’ll take you roughly 3 to 4 hours to finish the entire disassembling process, and you’ll be set for winter.
If, however, you’re not sure about it or you don’t have the time, you should remove the essentials.
This means the enclosure net, the jumping mat, the trampoline pad, the ladder, and any accessories that you might have on or around the trampoline, such as a basketball hoop, balls, or toys.
The only thing you can leave in the backyard is the fully assembled frame, the springs, and the mat, in some cases.
Everything else should go inside the house, preferably to a dry location without any moisture.
Step 2: Placing the Cover
The reason we mentioned the mat and said that it should be removed in some cases depends on the cover.
If you don’t own one, you should undoubtedly remove it.
The jumping mat is highly susceptible to environmental factors, such as dust and wind, and it’ll surely get damaged in harsher winters.
If you do have a cover, you can leave it on the trampoline and cover the entire structure.
However, there are different cover models, so make sure to get a good one.
For example, you’ll often find PVC covers that can easily wrinkle and house ponds of water on top of the trampoline.
If you leave home for a couple of days and don’t clean the cover, the moisture will undoubtedly get in the mat and damage it.
You want to get a quality cover that has a leakage system for draining the water.
Some covers with this design have the system right in the middle, meaning that they’re used when you remove the mat, so they’ll only be securing the pads and the frame.
The rare ones have leakage systems on the side that don’t allow any water from protruding inside, and they allow you to leave the mat on.
Placing the cover is easy in itself.
Again, it depends on the cover, but it’ll usually have hooks or elastic ropes.
Generally, ropes are the way to go, but the good thing is that you can even use tarps if you don’t own a cover.
Step 3: Repositioning the Trampoline
This step will require a partner or two, and you absolutely shouldn’t do it alone.
Naturally, you want your trampoline in the safest place possible in your backyard, so try to find a place that has enough natural obstacles to keep it in place if there’s a lot of wind.
Don’t place it under a tree by any means.
Moreover, you should use your house as an obstacle and put the trampoline close to a side wall, preferably somewhere that is covered by either a shed or a roof.
The same goes as before, do not move the trampoline before you’ve removed the essentials.
Only then can you move the trampoline, as the weight will be significantly lower.
Step 4: Anchoring the Trampoline

Now that you’ve secured the essentials and found the perfect place, it’s time to anchor it down.
It’s common for trampolines to lose their balance during snowy and windy days and lift up in the air.
Of course, they won’t fly away, but there have been cases of trampolines going across the entire yard and damaging property.
Therefore, it’s always best to be safe and anchor it down.
You can do this in three ways - by using anchor kits, wind stakes, or sandbags.
All three methods are efficient and will do the job, but using an anchor kit is by far the most efficient.
So, how does it work?
1. First, let’s start with sandbags.
They’re the easiest method, and it’s been used for centuries as a method for securing the river banks from overflowing or simply for stabilizing objects during rough days.
If you don’t own sandbags, Amazon has a wide selection for a really affordable price.
After all, you can even use other things to hold down the trampoline, such as bricks with ropes.
2. The second method is using wind stakes.
You’ll need a hammer for installing the stakes, and it takes a couple of minutes.
You’ll take each stake and hammer it down across the trampoline’s legs.
Hammer them as much as you can, but leave a bit of breathing room so you can take them out.
Also, don’t put the stakes in extremely dry earth as they can wiggle out if the weather is dry.
3. Finally, the most efficient method is utilizing the anchor kits.
This is the best method for two reasons - it’s stable, and it’s a year-round anchoring method.
Sandbags are only as efficient as the weather allows them to be, while wind stakes are generally not considered as a completely stable method.
Installing them will take a bit longer than the stakes, but it shouldn’t last more than thirty minutes.
You’ll receive spiral stakes and tie-down straps in the package that you’ll use in combination to secure the trampoline.
First, screw in the spirals into the ground, either manually or with the help of a hammer.
Repeat the process until you’ve put them all in, and then strap them to the trampoline frame, and that’s a general idea.
Step 5: Cleaning the Trampoline
Finally, don’t forget to clean the frame every once in a while.
Even though you’ve protected it as much as you can, the snow can still cause some damage, so use dry clothes or towels at least once a week to dry it off if it’s snowing a lot.
Furthermore, don’t forget to place the accessories in a dry spot in the house.
Also, don’t forget to clean them once in a while since dust could be a problem, especially for the safety enclosure net.
You can use a standard blow dryer for the net to get the dust out and a cloth for the poles.
Now that you know how to take care of a trampoline, all that’s left is to wait for the winter to be over and use the trampoline again in the sun.
Final Thoughts: Summary
As you can see, winterizing a trampoline is not a hard process.
It does have a couple of steps, and you should do them all in order to have maximum protection during cold days.
Of course, you cannot account for everything, so don’t beat yourself up if something goes wrong.
But, if you carefully follow this guide, everything should go smoothly.
If there’s something that didn’t click, feel free to comment and contact us, and we’ll explain everything.
This should be all you need to go through the roughest winters.
My name is Larry Dunn from Dallas Texas and I have a deep passion and love for the trampoline.
With many years of experience in the field of healthcare service, I have decided to start his own website which is about a trampoline.
With this website, I will share his experiences and expertise advices on different factors to consider when deciding whether or not a trampoline is safe for you and your family.
